|
First step is to get to know the application URL and the path you want to traverse it.
Follow the steps below and you will mostly succeed:
| 2. | You should see a blank screen. If a macro is already fulfilled, press "New"  button to reinitiate; button to reinitiate; |
| 3. | Under "Macro Details", choose a "Macro Name". The "This is an authentication macro" button must be unchecked. |

| • | Tip: If you want to create a macro that should not be crawled for new URLs (for example you just want to create a special "token" -- i.e: cookie), you must click on "Navigate Only" button. |
| 4. | There are two options to add pages/transactions to this macro: automatic (via browser) and manual. If you wan to use the latter, just add/remove URLs using the "Plus/Minus" button in the right side of the "Web Macro Sequence" table. We will use first technique -- just click on "Start Proxy" button: |

| • | Tip: You are free to modify IP address (as long as you have that IP bound to your network interface) and TCP Port. Threads are the allowed number of simultaneous connections allowed to the Web Proxy. |
| 5. | Once started, click on "Start Browser" button. N-Stalker will attempt to automatically configure your browser to be used within the "Macro Recorder" tool. If you have problems doing so, you should manually configure it (using your browser's network connection). You will end up with a browser opened for navigation purposes. |
| 6. | Start navigating through your application. Walk through a path you would like N-Stalker's spider engine to do as well. N-Stalker will record all information within the "Web Macro Sequence" table. |
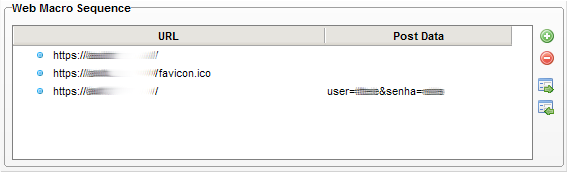
| • | Tip: you are free to remove or add entries at any time. Just select the resource and use "minus" button in the right side to delete it. To add, just use "Plus" button. |
| 7. | Continue to navigate until you have finished the desired path; |
| 8. | Now it is safe to save and close your macro. Click on "Save"  button to commit changes; button to commit changes; |
| 9. | Click on "Macro Recorder" button in the top menu to get back to N-Stalker's main screen. |
|